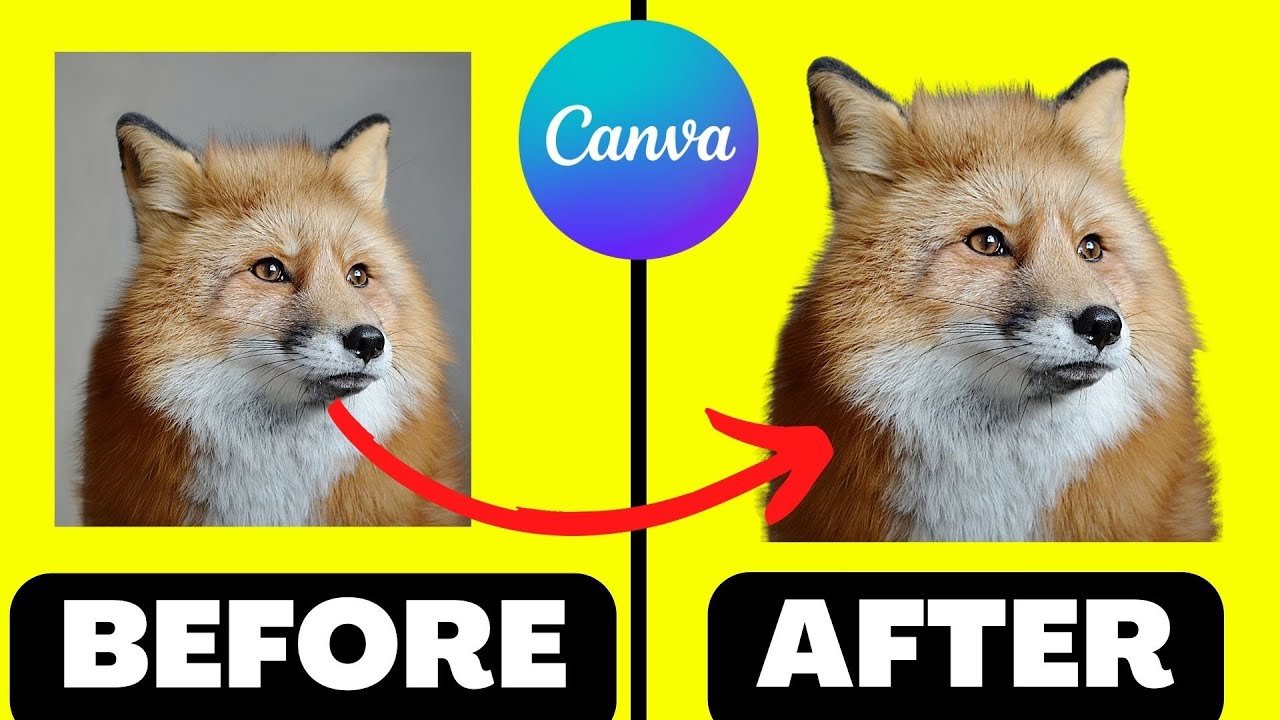
Canva, with its intuitive interface, offers a range of powerful tools that are instrumental in achieving precision cuts for your images. Familiarising yourself with these tools is the first step toward mastering the art of image editing. Let's explore the key tools in Canva that play a crucial role in the precision cutting process:
- Selection Tool: The cornerstone of precision cutting in Canva, the Selection Tool allows you to outline and select specific areas of your image with precision. It provides handles for resizing and reshaping your selection.
- Crop Tool: For refining the dimensions of your image, the Crop Tool comes in handy. It enables you to trim unwanted edges and focus on the core elements, ensuring a clean and professional look.
- Alignment Features: Canva offers a variety of alignment options to help you position elements precisely. Utilise the alignment guides, distribute spacing evenly, and ensure your cuts are perfectly aligned for a polished result.
As you embark on your image cutting journey, consider these additional tools that complement the primary ones:
- Zoom Tool: Zooming in on intricate details is essential for achieving precision cuts. Use the Zoom Tool to get a close-up view and make accurate adjustments.
- Undo and Redo: Mistakes happen. Canva's undo and redo functionalities are lifesavers. Easily navigate through your editing history to rectify any errors in the cutting process.
Setting the Canvas and Image

Before diving into the intricacies of precision cutting in Canva, it's essential to set the canvas and optimise your image for the editing process. Paying attention to these initial steps ensures a smoother workflow and enhances the precision of your cuts.
Canvas Settings:
- Begin by selecting the appropriate canvas size for your project. Canva offers preset sizes for various design purposes, from social media graphics to print materials.
- Resolution: Opt for a high resolution to maintain image quality. This is particularly crucial if you plan to use the edited image for print.
- Background: Consider the background color or transparency. For precision cuts, a contrasting background can make it easier to distinguish the edges of your image.
Image Preparation:
- Upload High-Quality Images: To achieve precision cuts, start with high-resolution images. This provides more detail to work with and ensures a crisp final result.
- Use Layers: Organise your design elements using layers. This allows you to work on specific parts of the image without affecting the rest, facilitating precise cuts.
- Positioning: Arrange your image elements thoughtfully. Ensure that the elements you want to cut are clearly visible and well-positioned within the canvas.
Also Read This: Top Gigs in Demand on Fiverr: Your Guide to Earning Online
Mastering the Selection Tool
The Selection Tool in Canva is your primary instrument for achieving precise cuts in your images. Mastering its functions is key to creating clean and professional-looking designs. Let's explore the nuances of the Selection Tool and how to leverage its features:
Basic Selection:
- Activate the Selection Tool from the toolbar, usually represented by an arrow icon.
- Click and Drag: Use the tool to click and drag around the area you want to select. Handles will appear, allowing you to adjust the size and proportions of your selection.
- Add to Selection: Hold down the Shift key to add more areas to your selection. This is useful for complex shapes or multiple elements.
Precision Adjustments:
- Resize and Rotate: Fine-tune your selection by dragging the handles to resize or using the rotation handle to adjust the angle.
- Aspect Ratio: Maintain the aspect ratio by holding down the Shift key while resizing. This ensures that proportions remain consistent.
Refinement Techniques:
- Zoom In: To achieve precision cuts, zoom in on your image using the Zoom Tool. This allows you to work on intricate details more effectively.
- Smooth Edges: Utilize the 'Smooth' option in the toolbar to refine the edges of your selection for a polished look.
Also Read This: Is It Worth Buying Social Bookmarking Services on Fiverr?
Utilising Advanced Techniques
Once you've mastered the basics of Canva's tools, it's time to explore advanced techniques that can elevate your precision cuts to a professional level. These techniques involve using features like layering, grouping, and masking to add complexity and finesse to your designs:
Layering:
- Understanding Layers: Canva operates on a layer-based system. Familiarize yourself with the concept of layers, where each element in your design is placed on a separate layer.
- Organising Elements: Arrange your elements on different layers to control their visibility and easily make adjustments without affecting the entire design.
Grouping:
- Creating Groups: Group related elements together to maintain their collective positioning and properties. This is especially useful when working with intricate designs that involve multiple components.
- Editing within Groups: Edit elements within a group individually without disrupting the overall structure. This enhances precision when making targeted adjustments.
Masking:
- Introduction to Masking: Explore the power of masking to reveal or hide portions of an image. This technique is invaluable for achieving intricate cuts with soft transitions.
- Gradient Masking: Experiment with gradient masks to create gradual fades or blends, adding a professional touch to your designs.
Also Read This: How to Download Fiverr on PC
Tips for Seamless Edges
Attaining seamless edges in your Canva designs is a hallmark of professional image editing. To ensure your precision cuts result in a polished and visually appealing outcome, consider these tips for achieving seamless edges:
Use High-Resolution Images:
- Start with high-resolution images to maintain clarity and detail, especially along the edges of your cut elements.
- Check Image Dimensions: Verify that the dimensions of your image match the intended output. This prevents distortion and ensures a seamless integration into your designs.
Zoom In for Detail:
- Zoom Tool: Utilize the Zoom Tool to get a closer look at the edges you're working on. This allows for meticulous adjustments, minimizing jagged edges or pixelation.
- Pixel-Level Precision: When dealing with intricate details, zoom in to the pixel level to achieve the highest level of precision.
Experiment with Feathering:
- Feathering Edges: Explore the feathering option in Canva to create soft transitions along the edges of your cut elements. This is particularly effective for blending elements seamlessly into your designs.
- Adjust Feathering Strength: Fine-tune the strength of feathering to strike the right balance between a clean cut and a smooth integration.
Layer Opacity for Transparency:
- Adjust Layer Opacity: Experiment with layer opacity to achieve transparency along the edges. This can be beneficial when overlaying cut elements onto other images or backgrounds.
- Blend Modes: Explore different blend modes to enhance the interaction between cut elements and the background.
Also Read This: How to Promote Your Freelance Business
Common Mistakes to Avoid
While navigating the intricacies of precision cutting in Canva, it's crucial to be aware of common pitfalls that can compromise the quality of your edits. Steering clear of these mistakes will contribute to achieving professional and flawless results:
Insufficient Image Quality:
- Starting with low-resolution images limits the amount of detail you can work with and may result in pixelation along the edges of your cuts.
- Check Image Sources: Ensure that the images you use are of high quality and resolution to maintain clarity in your designs.
Overlooking Canvas Settings:
- Background Color: Neglecting to consider the background color or transparency can lead to unexpected visual inconsistencies, especially when overlaying cut elements onto other designs or backgrounds.
- Resolution Mismatch: Ensure that the canvas resolution matches the intended output to prevent distortion or blurriness.
Rushing the Selection Process:
- Take Your Time: Haste in using the Selection Tool may result in inaccuracies. Take the time to carefully outline and adjust your selections for precise cuts.
- Undo and Redo: Don't hesitate to use the undo and redo functionalities to rectify mistakes without compromising the entire editing process.
Ignoring Layer Organisation:
- Unorganised Layers: Failing to organise your design elements into layers can make it challenging to make targeted adjustments and may lead to unintentional alterations in your overall design.
- Grouping Elements: Utilise grouping to maintain the structure of related elements and streamline the editing process.
Also Read This: How Do I Use Fiverr: A Complete Guide
FAQ
Explore answers to frequently asked questions related to precision cuts in Canva. Whether you're a beginner or an experienced designer, these insights can help clarify common queries and enhance your image editing skills:
Q: Can I achieve precision cuts in Canva with the free version?
A: Yes, Canva's free version provides essential tools, including the Selection and Crop Tools, allowing you to achieve precision cuts. However, the Pro version offers additional features for more advanced editing capabilities.
Q: How do I ensure my images maintain quality after cutting?
A: Begin with high-resolution images, use the Zoom Tool for detailed adjustments, and be mindful of canvas settings. Avoid excessive resizing to prevent loss of image quality.
Q: What is the importance of layering in Canva?
A: Layering in Canva allows you to organize elements effectively. Each layer represents a different part of your design, enabling precise adjustments without affecting the entire composition.
Q: Can I undo mistakes in the precision cutting process?
A: Yes, Canva provides an undo and redo feature. If you make a mistake during the selection or cutting process, use these functions to navigate through your editing history and make corrections.
Q: What is feathering, and how does it enhance seamless edges?
A: Feathering is a technique that softens the edges of a selection, creating a gradual transition between the cut element and the background. Adjusting the feathering strength helps achieve a seamless and natural look.
Feel free to explore these FAQs as you embark on your Canva image editing journey. If you have additional questions, don't hesitate to reach out for further assistance.
Conclusion
Congratulations on delving into the intricacies of precision cuts in Canva! In this comprehensive guide, we explored essential tools, techniques, and advanced tips to help you cut images like a pro. Let's recap the key takeaways from our journey:
Mastering Canva Tools: Understand the functions of the Selection Tool, Crop Tool, and alignment features to lay the foundation for precision cuts.
Setting the Canvas and Image: Optimize canvas settings and image preparation for a smooth editing workflow.
Mastering the Selection Tool: Learn the intricacies of the Selection Tool for precise and clean cuts, utilizing basic and advanced adjustments.
Utilising Advanced Techniques: Explore layering, grouping, and masking to add complexity and finesse to your designs.
Tips for Seamless Edges: Incorporate high-resolution images, zoom in for detail, experiment with feathering, and adjust layer opacity for transparency.
Common Mistakes to Avoid: Be aware of image quality, canvas settings, rushing the selection process, and the importance of layer organization.
FAQ: Gain insights into frequently asked questions to further enhance your understanding of precision cuts in Canva.
As you apply these techniques and tips to your projects, remember that practice and experimentation are key to refining your skills. Don't hesitate to explore new features and stay updated on Canva's evolving tools. With dedication and creativity, you'll continue to elevate your image editing proficiency. Happy designing!


