Are you a freelancer on Fiverr, eager to see how your gigs are performing? Or perhaps you've just created a new service and want to check it out live? No worries! In this guide, we’ll take a stroll through the simple yet effective process of viewing your gig on Fiverr. Understanding how to navigate this platform is essential for optimizing your services and attracting more clients. So, let's dive right in!
Step-by-Step Guide to Viewing Your Gig

Viewing your gig on Fiverr is super straightforward. Let’s break it down into digestible steps that you can easily follow:
- Log into Your Fiverr Account: Start by heading over to the Fiverr website and logging into your account. If you're already logged in, great! You can move on to the next step.
- Navigate to Your Dashboard: Once logged in, you'll find yourself on the Fiverr dashboard. This is your control center where you can manage everything related to your gigs.
- Click on “Selling”: At the top of the page, you’ll see a menu that includes “Selling.” Click on it, and a dropdown menu will appear.
- Select “Gigs”: From the dropdown menu, choose “Gigs.” This action will take you to a list of all the gigs you’ve created.
- Find Your Desired Gig: Browse through your gigs and locate the one you want to view. It’s helpful that Fiverr lists them in an organized manner, so finding your gig should be a breeze.
- Preview Your Gig: Next to your gig name, you’ll see a button or link that says “Preview.” Click on it to view how your gig looks to potential buyers.
- Analyze and Optimize: After previewing, take notes on what you like and what could be improved. Remember, your gig’s appearance plays a massive role in attracting clients!
And there you have it! Following these simple steps can help you easily view and evaluate your gig, ensuring you make the most out of your Fiverr experience.
Also Read This: Does Fiverr Do Bidding? Understanding the Platform’s Processes
Using the Fiverr Dashboard

If you're looking to view your gig on Fiverr, the Fiverr Dashboard is your starting point. This hub is designed to help you manage all aspects of your freelancing business without any hassle. Let's break down how to navigate this essential tool.
First things first, once you log into your Fiverr account, you'll land on your Dashboard. This interface provides you with a comprehensive overview of your gigs, sales, and overall performance. Here's what you can expect to find:
- Your Gigs: This section showcases all the gigs you've created, including their status, number of views, and orders received.
- Statistics: Get insights into your earnings, conversion rates, and how many potential buyers viewed your gigs. This helps you tweak your offers to attract more clients.
- Notifications: Stay updated with real-time notifications on messages, orders, and reviews to ensure you never miss an opportunity.
- Messages: Direct access to client communications, allowing you to manage your interactions effectively.
To view a specific gig, simply click on the "Gigs" tab on the left side of the Dashboard. Here, you'll see a list of all your gigs. To get a closer look at any gig, click on the gig title. This will take you to a detailed view where you can edit, update, or delete your gig as needed.
Remember, a well-managed Dashboard translates to a flourishing freelancing journey! Keep an eye on your statistics, respond to messages promptly, and make necessary adjustments to your gigs based on the insights you gather.
Also Read This: Best Fiverr Sellers for Language Learning in 2024
Accessing Your Gig from the Seller Profile

Your Seller Profile on Fiverr is essentially your storefront, and it's where potential clients can browse through all your offerings. Accessing your gig from this section is straightforward, and it’s a great way to review how your gigs are presented to potential buyers.
Here’s how to access your gig through your Seller Profile:
- Log into your Fiverr account.
- Click on your profile picture in the upper right corner, and select "Profile" from the dropdown.
- Once on your Seller Profile, scroll down until you see the “Gigs” section.
Within the “Gigs” area, you'll find a list of all the gigs you’ve posted. This is a fantastic opportunity to see how they appear to clients. You can check out:
- Gig Title: Make sure it’s catchy and relevant.
- Cover Image: Ensure it's eye-catching and represents your service accurately.
- Description: Review your gig description for clarity and conciseness.
- Pricing: Ensure your pricing reflects the value offered in your gig.
By accessing your gig from your Seller Profile, you can make vital adjustments that may improve your visibility and conversion rate. Don’t hesitate to tweak your gigs or even experiment with new ideas based on the insights you gather from your profile analytics.
Also Read This: How to Create Multiple Gigs on Fiverr
5. Checking Gig Performance and Analytics
Understanding how your gigs are performing on Fiverr is crucial for your success as a seller. Fiverr provides a feature called Gig Analytics, which allows you to dive deep into your gig's performance metrics. Here’s how you can check the performance of your gig:
- Dashboard Overview: Start by logging into your Fiverr account and navigating to your Dashboard. Here, you will see a summary of your overall activity, including gig views, orders, and earnings.
- Go to Analytics: Click on the "Analytics" tab located on the left sidebar. This will show you various metrics that detail how your gig is performing over a certain period.
- Traffic Sources: One vital aspect of gig performance is understanding where your traffic is coming from. Fiverr will break this down into different sources such as search results, referrals, and social media.
- Engagement Rates: Look closely at metrics like impressions, clicks, and conversion rates. A high number of impressions with low clicks might indicate that you need to tweak your gig title or images to catch potential buyers' eyes.
- Order Stats: Keep an eye on your completed orders and cancellations. This will help you understand customer satisfaction and areas for improvement.
By regularly checking these analytics, you can make informed decisions about how to optimize your gig and potentially increase your sales.
Also Read This: How Much Money Does Fiverr Make Per Year?
6. Common Issues and Troubleshooting
Even the most seasoned Fiverr sellers can face some hiccups now and then. It’s essential to be aware of common issues that might arise while trying to view your gig or manage it effectively. Here are some typical problems and how to troubleshoot them:
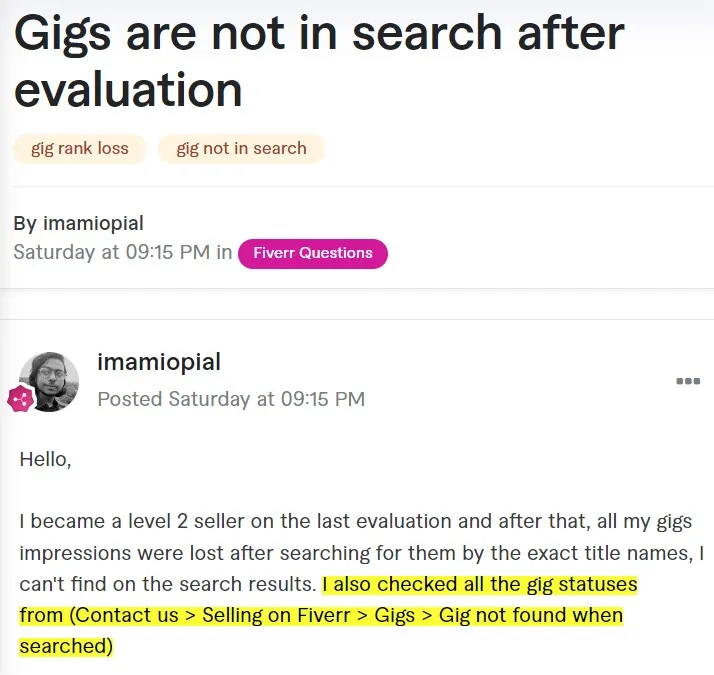
- Gig Not Showing Up: If you can't find your gig in search results, make sure you are using the correct keywords in your title and description. Additionally, check if your gig is active and not in "Draft" mode.
- Analytics Not Loading: Sometimes, the Fiverr dashboard may not load analytics correctly. If this happens, a simple refresh may do the trick. If the problem persists, try clearing your browser’s cache or switching to a different browser.
- Incorrect Metrics: It's possible to see discrepancies in your metrics. If your gig views don’t match your order numbers, double-check your analytics timeframe settings to ensure you’re looking at the right period.
- Account Issues: If your Fiverr account is restricted or you cannot view your gigs, reach out to Fiverr support. They can provide assistance and clarify any issues related to your account status.
- Image Quality Problems: If your gig images look blurry or do not appear, ensure they meet Fiverr's image guidelines for size and quality. Always use high-quality images to attract more buyers.
Remember, it’s all a learning curve. Don’t be discouraged by these common issues; instead, use them as an opportunity to refine your skills and enhance your gig’s appeal.
How to View My Gig on Fiverr
Fiverr is a popular online marketplace where freelancers can offer services, known as gigs, to potential buyers. Once you’ve created your gig, it's important to know how to view and manage it effectively. Here’s a step-by-step guide to help you navigate this process smoothly.
Here’s how to view your gig on Fiverr:
- Log into Your Fiverr Account:
Start by visiting the Fiverr website. Enter your email address and password to access your account.
- Navigate to Your Profile:
Click on your profile picture at the top right corner of the page and select “Profile” from the dropdown menu.
- Access Your Gigs:
In your profile view, click on the “Selling” tab. This will lead you to a submenu where you can see “Gigs.” Click on it to view all your active and inactive gigs.
- Select the Gig You Want to View:
From the list of gigs, choose the one you want to view. This will take you to the gig’s management page, where you can edit, update, or deactivate the gig.
Additionally, you can view performance metrics, such as orders completed, reviews, and visibility, from the gig management page to track its success and make necessary adjustments.
| Step | Action |
|---|---|
| 1 | Login to Fiverr |
| 2 | Go to Your Profile |
| 3 | Access Your Gigs |
| 4 | Select the Gig |
By following these steps, you will have no trouble accessing and managing your gigs on Fiverr, making it easier to keep track of your freelance work and improve your offerings.
In conclusion, efficiently viewing your gig on Fiverr not only helps you monitor its performance but also enables you to make necessary adjustments to enhance your service offerings, ultimately leading to greater success on the platform.


