
Fiverr is an incredible platform that connects freelancers with clients looking for various services, from graphic design to writing. Whether you're a freelancer wanting to earn some extra cash or someone looking for services, Fiverr has it all. In this guide, we'll take you step-by-step through creating your account on Fiverr, specifically tailored for Urdu speakers. Let’s jump right in!
Step 1: Visit the Fiverr Website
The first step to making your account on Fiverr is to visit their official website. It's pretty straightforward, but let’s break it down in a way that makes it easy to follow.
Here’s how to get to the Fiverr website:
- Open your preferred web browser. This could be Chrome, Firefox, Safari, or any other browser you like.
- In the address bar at the top, type www.fiverr.com and hit Enter.
- Wait a few seconds for the page to load. You’ll see Fiverr's vibrant homepage showcasing various services.
Congratulations! You are now on the Fiverr website. Here’s what you will typically see:
| Features | Description |
|---|---|
| Search Bar | Use this to find specific services or freelancers. |
| Categories | Explore different service categories like Graphics, Writing, SEO, and more. |
| Login/Join Button | Located in the top right corner, this is where you'll start the account creation process. |
Once you've familiarized yourself with the website, you're ready to proceed to the next steps for creating your Fiverr account! Keep that excitement going!
Also Read This: Payment Rates for Freelance Graphic Designers
Step 2: Click on Sign Up
فائیور کی ویب سائٹ پر پہنچنے کے بعد، آپ کو ایک واضح بٹن نظر آئے گا جو "Sign Up" کہلاتا ہے۔ یہ بٹن عموماً ویب سائٹ کے اوپر دائیں کونے میں موجود ہوتا ہے۔
اس بٹن پر کلک کرنے سے ایک نیا فارم کھلے گا جہاں آپ کو اپنے نئے اکاؤنٹ کی معلومات فراہم کرنی ہوں گی۔ یہ عمل بہت آسان ہے، اور چند منٹ میں مکمل کیا جا سکتا ہے۔
آپ کو ذیل میں دیا گیا فارم بھرنا ہوگا:
- نام - اپنے مکمل نام درج کریں۔
- ای میل ایڈریس - ایک درست ای میل ایڈریس لکھیں جسے آپ چیک کرتے ہیں۔ یہ آپ کے اکاؤنٹ کی تصدیق کے لیے ضروری ہے۔
- پاس ورڈ - اپنے اکاؤنٹ کے لیے ایک مضبوط پاس ورڈ بنائیں۔ یہ آپ کے اکاؤنٹ کی حفاظت کے لیے اہم ہے۔
جب آپ نے تمام معلومات درست بھر لی ہیں، تو آپ "Continue" یا "Next" کا بٹن دبائیں۔ اس کے ساتھ ہی، آپ کا فائیور اکاؤنٹ بنانے کا سفر آگے بڑھ جائے گا!
Also Read This: How Much Freelance Proofreaders Make
Step 3: Choose Your Registration Method
فائیور پر اکاؤنٹ بنانے کے لیے آپ کے پاس مختلف طریقے ہیں۔ آپ کو مخصوص مراحل پر یہ فیصلہ کرنا ہوتا ہے کہ آپ کس طریقے سے رجسٹریشن کرنا چاہتے ہیں۔ یہ آپ کی آسانی اور پسند پر منحصر ہے۔
ذیل میں کچھ مشہور طریقے درج ہیں:
- ای میل کے ذریعے: یہ سب سے عام طریقہ ہے۔ آپ اپنی ای میل ایڈریس اور پاس ورڈ کے ساتھ آسانی سے سائن اپ کر سکتے ہیں۔
- فیس بک: اگر آپ فیس بک صارف ہیں تو آپ اپنی فیس بک کے ذریعے بھی رجسٹریشن کر سکتے ہیں۔ یہ طریقہ فوری ہے اور آپ کا زیادہ وقت نہیں لیتا۔
- گوگل: اسی طرح، آپ اپنے گوگل اکاؤنٹ کی مدد سے بھی سائن اپ کر سکتے ہیں۔
جب آپ نے آپس میں سے کسی ایک طریقے کا انتخاب کر لیا تو فائیور آپ کو مزید ہدایات فراہم کرے گا۔ اس کے بعد آپ اپنے نئے اکاؤنٹ کا بھرپور استعمال کر سکتے ہیں۔
Also Read This: How to Make Money on Fiverr: A Comprehensive Guide for 2020
Step 4: Fill Out Your Details

Now that you’ve clicked that enticing “Join” button, it’s time for one of the more engaging parts of the Fiverr account creation process: filling out your details! This is where you get to let your personality shine and give potential clients a glimpse into who you are.
As you fill out your information, keep these sections in mind:
- Name: Use your real name or a professional name that you want clients to associate with your work. Remember, authenticity goes a long way!
- Email Address: Provide an email that you check regularly. Fiverr will send important notifications and updates here, so don’t use an email you rarely access.
- Password: Create a strong password that includes a mix of letters, numbers, and special characters. A good password is crucial for keeping your account secure.
Once you've filled in these details, calibrate your profile name to align with your brand identity. This is a big step because your profile name will be how clients recognize you. Also, feel free to jot down a brief introduction about your skills or services—this will help you stand out from the crowd. Once you’re satisfied with your inputs, you’re ready to move on to the next step!
Also Read This: How to Delete Your Fiverr Account: A Step-by-Step Guide
Step 5: Verify Your Email Address
Congratulations on successfully filling out your details! You're almost there. Now, let’s make sure your email address is verified. This step is essential for securing your account and ensuring you receive notifications about your gigs and messages from clients.
Here's how to verify your email address:
- Check your inbox: After you filled out your details, check the email account you provided. Fiverr should have sent a verification email. If you don’t see it, be sure to check your spam or junk folder.
- Click the verification link: The email will contain a link; simply click on it. This step confirms to Fiverr that you own the email address you registered with.
- Confirmation message: After clicking the link, you should receive a confirmation message on the web page. This will usually state that your email is successfully verified.
Once you’ve verified your email, you’ll unlock full access to your Fiverr account. It's like having a VIP pass! You can begin setting up your profile, creating gigs, and connecting with clients. So, let's get ready to showcase your skills!
Also Read This: Is It Allowed to Create Multiple Profiles on Fiverr.com?
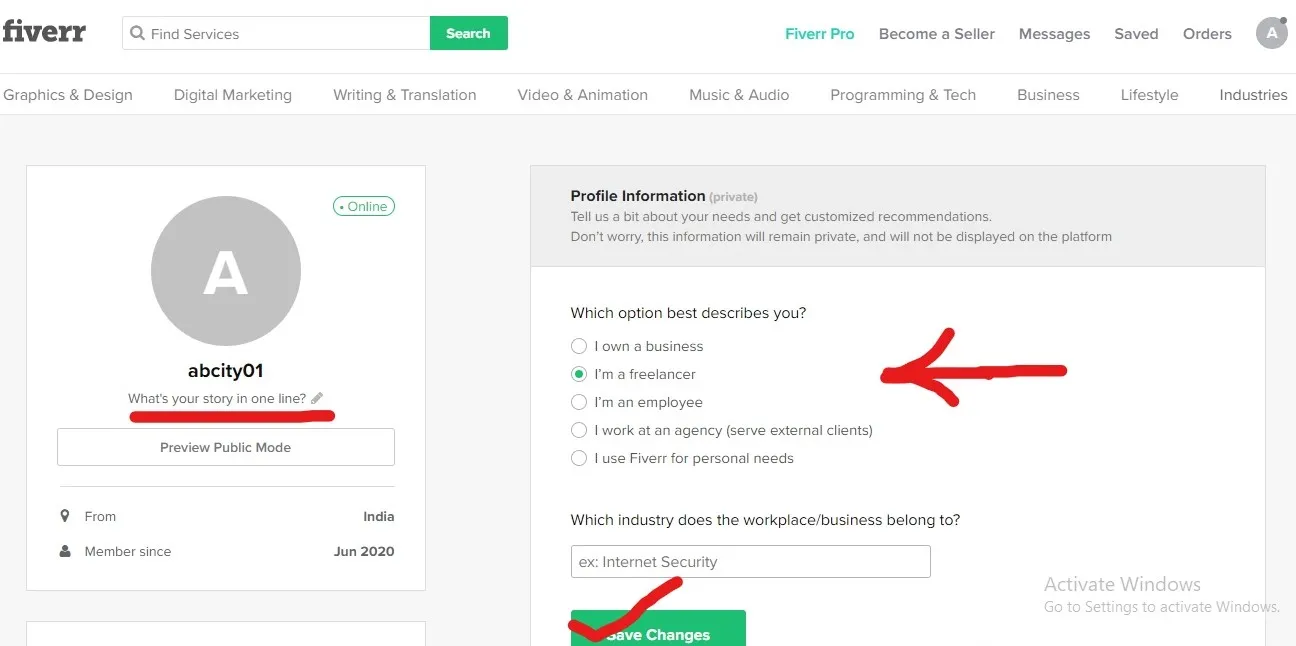
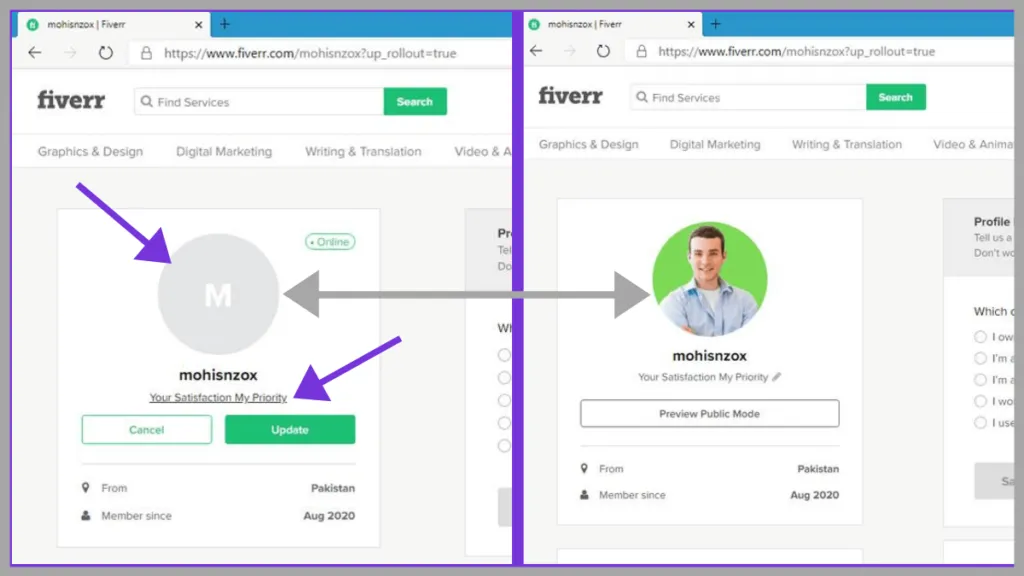
Step 6: Complete Your Profile
Now that you've signed up, it's time to give your Fiverr profile some personality! Your profile is like your digital business card—it needs to stand out and attract potential buyers. So, let’s break down the essentials.
Profile Picture: Choose a clear and professional photo of yourself. A smiling face can make a big difference! Make sure it’s suitable, as people like to connect with a real person.
Profile Description: Write a brief description about yourself. Highlight your skills, experience, and what you can offer on Fiverr. Think of it as a mini-advertisement. Use a conversational tone, and be genuine!
Languages: List the languages you speak. If you’re bilingual or multilingual, that can attract a wider audience. Fiverr is global, after all!
Skills: Add relevant skills that relate to the services you intend to offer. This helps Fiverr’s algorithm present your profile to the right customers. Aim for specificity! For instance, instead of “writing,” you might write “SEO content writing” or “blog writing.”
Education and Experience: Sharing your educational background and relevant work experience can build trust. Even if you don't have formal education in a specific field, talking about real-world experiences can be beneficial.
Always remember to proofread your profile! Spelling and grammar mistakes can turn potential customers away. Once you're satisfied with your profile, hit 'save,' and you're all set!
Also Read This: How to Use Your Balance on Fiverr: A Step-by-Step Guide
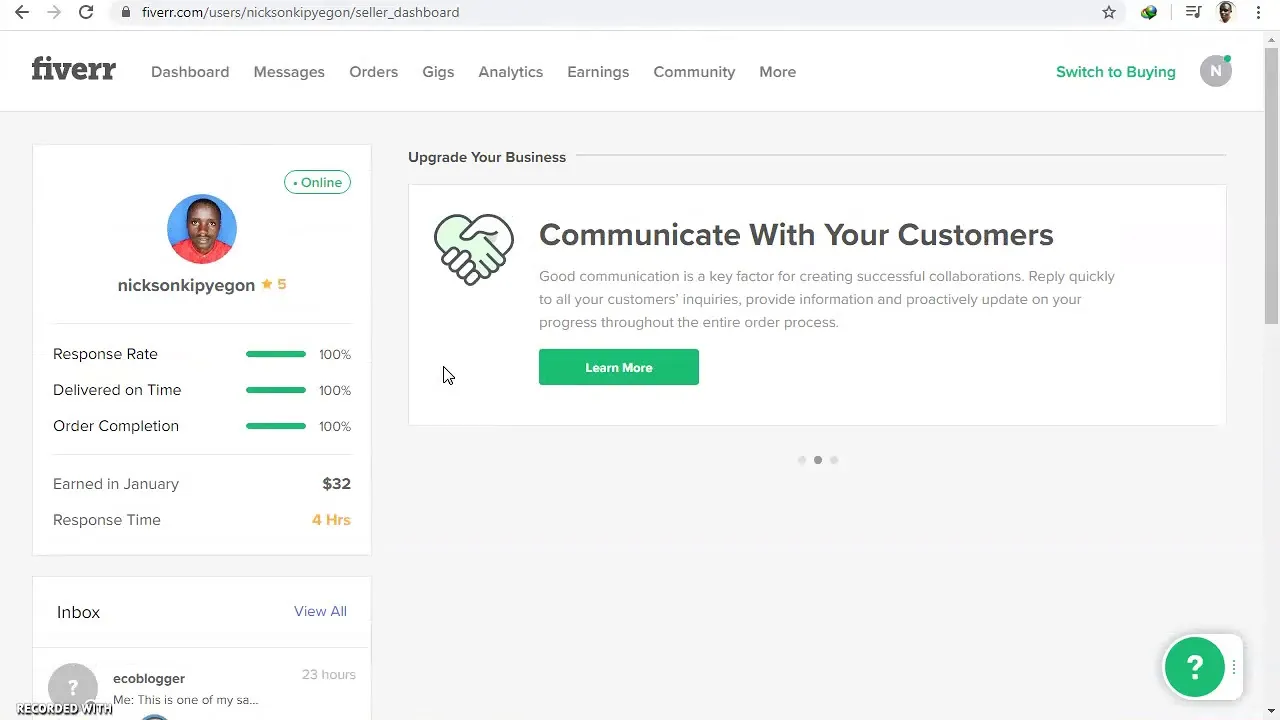
Step 7: Start Exploring Fiverr
You've completed your profile! Exciting, right? Now, it’s time to dive into the world of Fiverr and see what it has to offer. This is the fun part where you get to explore a vast array of services and find inspiration for your own gigs.
Categories and Subcategories: Fiverr is vast, so start by browsing through different categories. You’ll find areas like:
- Graphic Design
- Digital Marketing
- Writing & Translation
- Video & Animation
- Music & Audio
Each category has its own subcategories where you can dig even deeper into specific niches!
Join the Community: Fiverr has a lively community. Consider joining forums or social media groups related to your skills on Fiverr. Networking with other freelancers can provide valuable tips and support.
Research Gigs: Check out what other freelancers are offering. See how they present their services, pricing, and reviews. This can inspire you when you’re setting up your own gigs.
Bookmark Interesting Services: If you find services you like or think could complement what you’re offering, save them for later reference. This can be useful in understanding market demands and trends.
Exploring Fiverr can be an eye-opener! The more you know about what’s out there, the better prepared you’ll be to create competitive gigs that draw in buyers.
Also Read This: Top Fiverr Sellers for Market Research in 2024
How to Make an Account on Fiverr in Urdu
Fiverr ایک مشہور فری لانس پلیٹ فارم ہے جہاں لوگ اپنی مہارت کی بنیاد پر کام کر سکتے ہیں اور کما سکتے ہیں۔ اگر آپ بھی Fiverr پر اپنا اکاؤنٹ بنانا چاہتے ہیں تو یہ گائیڈ آپ کے لیے بہت مددگار ہوگی۔ یہاں ہم Fiverr پر اکاؤنٹ بنانے کی مکمل تفصیلات فراہم کریں گے۔
Fiverr پر اکاؤنٹ بنانے کے لیے درج ذیل مراحل پر عمل کریں:
- Fiverr کی ویب سائٹ ملاحظہ کریں: سب سے پہلے، [Fiverr.com](https://www.fiverr.com) پر جائیں۔
- سائن اپ بٹن پر کلک کریں: ہوم پیج پر موجود "Join" بٹن پر کلک کریں۔
- ایمیل کا استعمال: اپنی ای میل ایڈریس درج کریں یا آپ Google یا Facebook کے ذریعے بھی سائن اپ کر سکتے ہیں۔
- پاسورڈ بنائیں: ایک محفوظ پاسورڈ ترتیب دیں اور اسے یاد رکھیں۔
- اکاؤنٹ کی تصدیق: آپ کو اپنے ای میل میں ایک تصدیقی لنک موصول ہوگا، جس پر کلک کر کے اپنے اکاؤنٹ کی تصدیق کریں۔
- پروفائل مکمل کریں: اپنا پروفائل مکمل کرنے کے لیے نام، تصویر، اور دیگر ضروری معلومات درج کریں۔
- سروسز کی پیشکش: آپ اپنی مہارت کے مطابق مختلف خدمات (گگ) تشکیل دے سکتے ہیں۔
Fiverr پر اکاؤنٹ بنانا ایک آسان عمل ہے جو آپ کو دنیا بھر کے کلائنٹس تک رسائی فراہم کرتا ہے۔ بس اوپر دی گئی معلومات کا خیال رکھیں اور کچھ ہی دیر میں آپ خود کو فری لانسنگ کی دنیا میں پا لیں گے۔
Conclusion
Fiverr پر اکاؤنٹ بنانا نہایت سادہ ہے، اور بس چند مراحل میں آپ خود کو ایک کامیاب فری لانس کی حیثیت سے متعارف کروا سکتے ہیں، تو اپنی مہارت کو سامنے لائیں اور دنیا کو دکھائیں!


