
Getting started as a freelancer can feel a bit daunting, especially when navigating platforms like Fiverr. But don’t worry, you’re not alone! In this guide, we’ll walk you through the necessary steps to create your own freelancer account on Fiverr. Whether you’re a writer, graphic designer, or programmer, establishing your presence on this popular marketplace can open up a world of opportunities. So, let’s dive right in!
Step 1: Visiting the Fiverr Website

The first step in your Fiverr journey is, of course, to visit the Fiverr website. This might sound simple, but it sets the stage for everything you’ll do next. Here’s how to get there:
- Open your preferred web browser: You can use Chrome, Firefox, Safari, or whichever browser you like best.
- Type in the URL: In the address bar, type www.fiverr.com and hit enter. Make sure you spell it correctly to avoid any redirects.
- Take a look around: Once the page loads, take a moment to explore the layout of the website. Fiverr is user-friendly, and you’ll see various featured gigs, categories, and user testimonials right on the homepage.
After you’ve familiarized yourself with the site, it’s time to create your account. To do this, you’ll need to locate the "Join" button positioned at the top right corner of the page. Clicking on this button takes you one step closer to setting up your freelancer account. How exciting is that?
Now that you know how to visit Fiverr, keep your enthusiasm up! Every step further adds to your potential to earn and grow your freelancing career. Let’s move on to the next steps together!
Also Read This: How to Become a Freelance Contractor
Step 2: Signing Up for an Account
So, you’ve decided to dip your toes into the freelancing waters on Fiverr—great choice! The first thing you’ll need to do is create an account. Don’t worry; it’s a straightforward process that won’t take much of your time. Here’s how to get started:
- Visit Fiverr’s website: Navigate to www.fiverr.com. You’ll immediately be greeted with an inviting homepage that showcases various gigs (more on that later!).
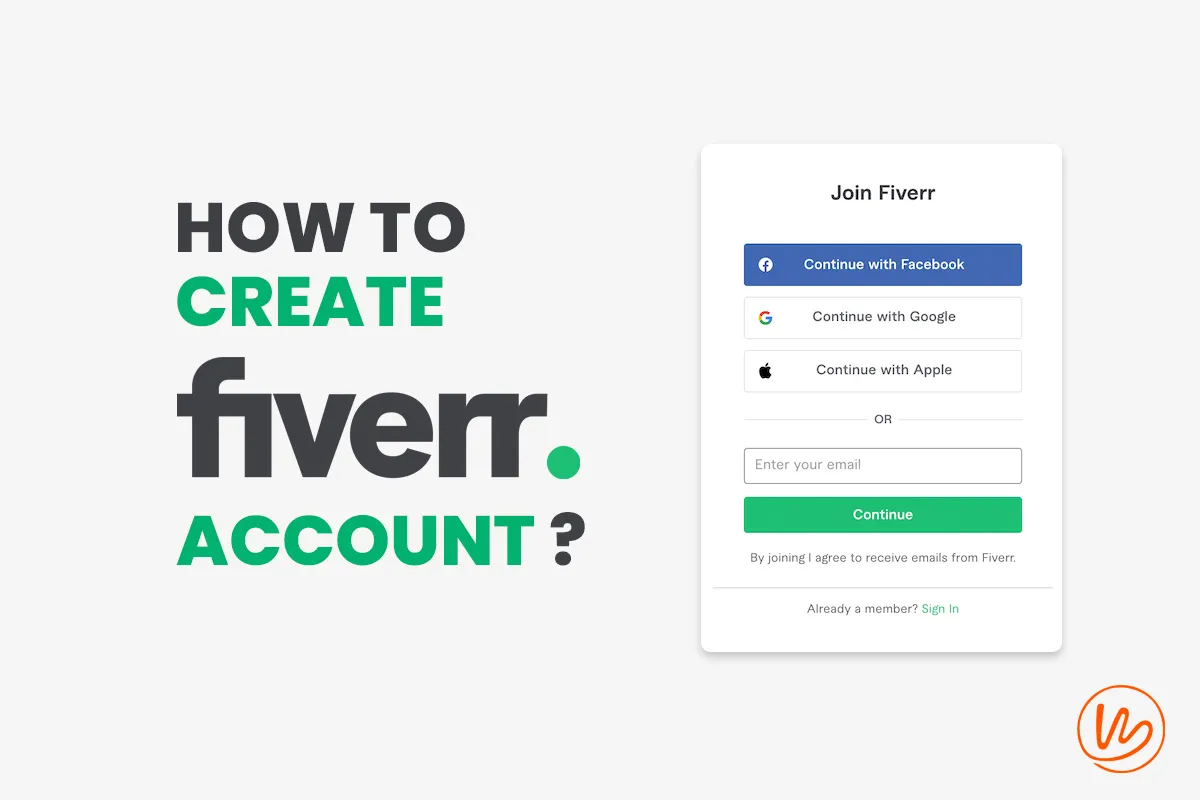
- Click on “Join”: At the top right corner of the homepage, you’ll see a “Join” button. Go ahead and click on that!
- Choose your registration method: Now, Fiverr gives you a few options here. You can sign up using your email address, or you can connect an existing Google or Facebook account. Select whichever feels most comfortable for you!
- Fill in your details: If you opt to register with email, you’ll need to provide basic info like your name, email address, and a strong password. Make sure to use an email you check often—it’ll come in handy!
- Confirm your email: After filling out your details, Fiverr will send you a verification email. Click on the link in that email to confirm your account.
And just like that, you are now a proud member of the Fiverr community! Ready for the next step? Let’s get your profile set up!
Also Read This: How to Rank a Gig on Fiverr
Step 3: Completing Your Profile
Now that you’ve successfully signed up on Fiverr, it’s time to roll up your sleeves and complete your profile. Think of your Fiverr profile as your online storefront; you want it to be engaging, informative, and appealing to potential buyers. Here’s how to make your profile shine:
- Add a profile picture: Choose a clear, professional photo of yourself for your avatar. A friendly face goes a long way in building trust!
- Craft a compelling bio: Your bio is your chance to showcase who you are and what services you offer. Keep it concise yet informative, highlighting your skills and experiences. Don’t be shy—let your personality shine through!
- Select your skills: Fiverr allows you to list your skills to attract the right clients. Make sure to choose relevant skills that match the services you intend to provide. You can add up to 15 skills, so pick wisely!
- Specify your languages: List the languages you speak or write in. This can broaden your clientele and help you connect with more buyers.
- Set your availability: Let potential clients know when you can take on new projects. If you’re flexible, consider mentioning that too.
Once you’ve filled out all these sections, review everything to make sure it flows well. A complete and polished profile not only boosts your chances of landing gigs but also helps you stand out in a crowded marketplace. Ready to dive into the next phase? Let’s go!
Also Read This: Best 10 Fiverr Gigs for Pet Photography in 2024
Step 4: Setting Up Your Gigs
Alright, let’s dive into the exciting part - setting up your gigs! Your gig is essentially your service offering on Fiverr, and it’s crucial to make it stand out. Here’s how to do it:
- Choose a Clear Title: Start with a concise and descriptive title for your gig. This should communicate exactly what you’re offering. For example, "Professional Logo Design for Your Business" is better than just "Logo Design."
- Select the Right Category: Fiverr has numerous categories. Make sure you choose the one that best aligns with your service. This helps potential buyers find you easily.
- Craft a Compelling Description: Write a detailed description of your gig. Highlight the benefits and what makes your service unique. Use bullet points to break down what you offer, and don’t forget to be personable!
- Set Pricing Tiers: Fiverr allows you to create multiple packages - Basic, Standard, and Premium. Consider your different service levels and set appropriate prices for each. Be transparent about what’s included.
- Add Extras: Offer additional services or upgrades for an extra fee. This could be a faster delivery or added revisions, which encourages upselling.
- Upload Eye-Catching Images: Visuals matter! High-quality images or videos showcasing your work can significantly increase your gig's appeal. Make sure they’re relevant and professional.
Once you’ve completed these steps, review everything to ensure clarity and professionalism. You'll be ready to hit that publish button in no time!
Also Read This: Is Fiverr a Good Place to Get Twitch Art Done?
Step 5: Navigating the Fiverr Dashboard
After setting up your gigs, understanding the Fiverr dashboard is crucial for managing your account effectively. Think of the dashboard as your control center; it’s where all the magic happens! Here’s how to navigate it seamlessly:
| Feature | Description |
|---|---|
| Manage Gigs | Access all your gigs, edit details, and track their performance. You’ll see views, orders, and reviews here, which help you understand what’s working. |
| Orders | This section keeps track of all your active and completed orders. You can manage communication with buyers and deliver final work here. |
| Notifications | Stay updated with any activities related to your gigs, like new messages, orders, or feedback. It’s always a good idea to check this regularly to respond promptly. |
| Analytics | Fiverr provides analytics to help you understand your gig’s performance. You can see metrics like views, clicks, and the number of orders received. |
| Profile Settings | Update your profile information here. You can edit your profile picture, bio, and payment info. Keeping this updated is important for maintaining a professional presence. |
Familiarizing yourself with these features will not only make your life easier but also enhance your experience as a freelancer targeting success on Fiverr!
Also Read This: How to Change Your Phone Number on Fiverr
Step 6: Tips for Success on Fiverr
Starting your journey on Fiverr can be both exciting and daunting. With a myriad of freelancers and services available, standing out is crucial, and I’ve got some golden tips to help you shine!
1. Optimize Your Gig Title and Description: Your gig title is like your first impression—it needs to be catchy and clear. Think of keywords that potential buyers will search for and incorporate them naturally into your title and description. A well-structured and detailed description not only increases your visibility but also helps set the right expectations.
2. Use High-Quality Images and Videos: Visual appeal matters! Invest some time in creating attractive thumbnails and, if possible, a brief video about your service. People connect better with videos and images; they give a face to your service, boosting trust with potential buyers.
3. Set Competitive Pricing: In the early stages, don't be afraid to set lower prices to get those first few jobs under your belt. Remember, these gigs will lead to reviews, which can significantly enhance your credibility.
4. Be Responsive: Quick responses to inquiries show potential buyers that you’re reliable and engaged. Aim to reply within 24 hours; it's essential for building a positive reputation.
5. Deliver Quality Work: This one's a no-brainer! Always strive for excellence in your work. Happy customers are more likely to leave positive reviews, refer you to others, and become repeat buyers.
6. Ask for Reviews: Once you deliver an order and the customer is satisfied, kindly ask them to leave a review. A good review can make a world of difference in establishing credibility.
By following these tips, you’ll not only increase your chances of success but also create an enjoyable and profitable experience on Fiverr. Remember, the key is consistency and continuous improvement!
Conclusion
Create your Fiverr account today and embark on your freelancing journey! Just remember, the initial setup is just the beginning. Success on Fiverr is a combination of strategy, hard work, and a willingness to learn. The platform offers a fantastic opportunity for freelancers to monetize their skills and connect with a global audience, but it requires dedication.
Whether you are a seasoned freelancer or new to the gig economy, following the steps outlined in this guide can set you on the right path.Stick to your goals, stay persistent, and adapt to feedback. Here’s a summary of what we covered:
| Key Takeaways |
|---|
| Sign up and create a standout profile |
| Craft compelling gig descriptions |
| Optimize your visual content |
| Engage with clients and request feedback |
Ultimately, your success on Fiverr hinges on how you present your services and interact with your clients. So, get started, put your best foot forward, and who knows? You might just discover a new passion for freelancing that you didn’t know existed!


