
If you’ve just created a gig on Fiverr or are considering it, you might be wondering how to get it up and running. You’re not alone! Many new sellers find the platform a bit overwhelming at first, but activating your gig is easier than you think. This guide will walk you through the steps to activate your Fiverr gig, ensuring that you’re ready to showcase your skills to a global audience. Let’s dive in!
Understanding Fiverr Gigs
Before jumping into the activation process, it's essential to understand what Fiverr gigs are and how they function. In simplest terms, a gig is your service listing on Fiverr where you can offer your skills or products to potential buyers. Think of it as a mini storefront that reflects what you can do.
Here’s a breakdown of the key elements of Fiverr gigs:
- *Service Description: This is where you explain what you’re offering. A clear, concise description helps attract buyers.
- Pricing Packages: Fiverr allows you to set up multiple pricing tiers (Basic, Standard, and Premium), depending on the complexity of the service.
- Delivery Time: Specify how long it will take to deliver the finished product or service. Timelines are crucial for buyer satisfaction.
- Requirements: Outline what you need from buyers to complete their orders smoothly. This could be anything from logos to detailed briefs.
- Gallery Section*: Showcase your work with images, videos, or PDFs. A strong portfolio can massively improve your gig's attractiveness!
In essence, a Fiverr gig serves as a marketing tool that displays not just your skills but also your personality. It’s your chance to create a compelling narrative around what you offer. Understanding these components will not only help you activate your gig but also optimize it for better visibility and sales. Ready to take the next step? Let’s activate that gig!
Also Read This: How to Stay Online on Fiverr: Tips for Consistent Visibility
Step 1: Log into Your Fiverr Account
Alright, let's kick things off! The very first step in activating your Fiverr gig is to log into your account. If you already have a Fiverr account, that's fantastic! If not, don't worry—creating one is a breeze!
To log in, follow these simple steps:
- Visit the Fiverr website: Open your browser and head over to www.fiverr.com.
- Click on 'Sign In': You’ll see a button at the top right corner of the homepage that says 'Sign In'. Click on it!
- Enter your credentials: Fill in your email and password linked to your Fiverr account. If you signed up using Google or Facebook, you can click on those options to log in seamlessly.
- Hit 'Log In': Once you’ve entered your details, hit the 'Log In' button.
If you forget your password, just click on the “Forgot Password?” link to reset it—Fiverr makes this super easy!
Once you're logged in, you’ll be welcomed to your Fiverr dashboard, where all the magic happens! Ready for the next step? Let's go!
Also Read This: Earnings of Freelance Front-End Developers
Step 2: Navigate to Your Gigs
Now that you're logged in, it's time to find your gigs. This might sound a bit tricky, but I promise it's not! Navigating to your gigs is a straightforward process, and I’m here to guide you.
Here’s how you can easily get to your gigs:
- Locate the Menu: At the top of your Fiverr homepage, you’ll see a horizontal menu. Look for the 'Selling' tab.
- Click on ‘Gigs’: Hover over the 'Selling' tab, and a dropdown will appear. Click on 'Gigs' from that dropdown.
- Find Your Active and Inactive Gigs: This page will show you all your gigs, both active and ones that are not currently live.
If you're new to Fiverr and haven’t created any gigs yet, don’t worry! You can still set up your gig from this page. Just look for the 'Create a New Gig' button, usually located at the top right.
And there you have it! You’ve successfully navigated to your gigs section. Now you are just a few steps away from activating your gig and starting your journey on Fiverr!
Also Read This: How to Do Mock Ups on Fiverr
Step 3: Editing Your Gig Details
Once you've set the foundation for your Fiverr gig, it's time to refine it. Editing your gig details is crucial because this is where you get to showcase what makes your services unique. Let's dive into the essential components you need to focus on:
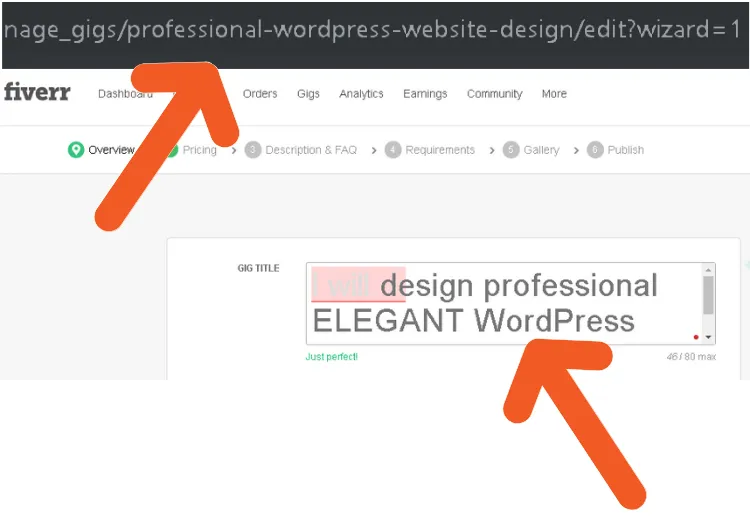
- Title: Choose a compelling title that clearly explains what you’re offering. Keep it concise yet descriptive. For example, instead of “I will write,” you could say “I will write SEO-optimized blog posts.”
- Description: This is your opportunity to persuade potential buyers. Use a conversational tone, break your text into short paragraphs, and include bullet points to highlight key benefits. Aim for a personal touch—let buyers know why you’re the right choice!
- Category and Subcategory: Ensure you select the correct category and subcategory for your gig. This makes it easier for customers to find your service when they search on Fiverr.
- Tags: Tags are crucial for your gig's discoverability. Use relevant keywords to help potential buyers find you. Think of tags like the breadcrumbs that lead clients to your offerings.
Don’t forget to preview your gig after making edits to ensure everything looks appealing and professional. A well-edited gig can significantly enhance your chances of grabbing the attention of customers.
Also Read This: How to Work as a Freelance Tutor
Step 4: Setting Your Gig to Active
Now that your gig details are all polished and ready, it's time to take the final step: setting your gig to active! Activating your gig makes it visible to potential buyers and allows you to start receiving orders. Here's how to do it:
- Review Your Settings: Before hitting that activate button, double-check everything—pricing, delivery time, and gig extras. Ensure they reflect the value you want to offer.
- Click ‘Publish’: Once you’re happy with how everything looks, look for the “Publish” or “Activate” button on your gig page. Click it, and BAM! Your gig is live.
- Promote Your Gig: After activating, share your gig link on social media platforms or forums relevant to your niche. The more exposure, the better chances of getting clients!
- Monitor Performance: Once your gig is live, keep an eye on its performance. Check how many views, clicks, and orders you’re getting. This can help you tweak your gig further if needed.
Activating your gig is like throwing open the doors to your online shop. Get excited, be proactive, and watch as potential buyers come your way!
Also Read This: How to Be a Freelance Writer with No Prior Experience
Step 5: Confirming Activation
Alright, you’ve made it to Step 5! Congratulations on getting this far! Now that you’ve set up your Fiverr gig and followed all the previous steps, it’s time to confirm that your gig is activated and ready to go live. Here’s how you can do that:
- Go to Your Dashboard: Log into your Fiverr account. The dashboard is generally the first page you’ll see once you log in. This is your control center for everything related to your gigs.
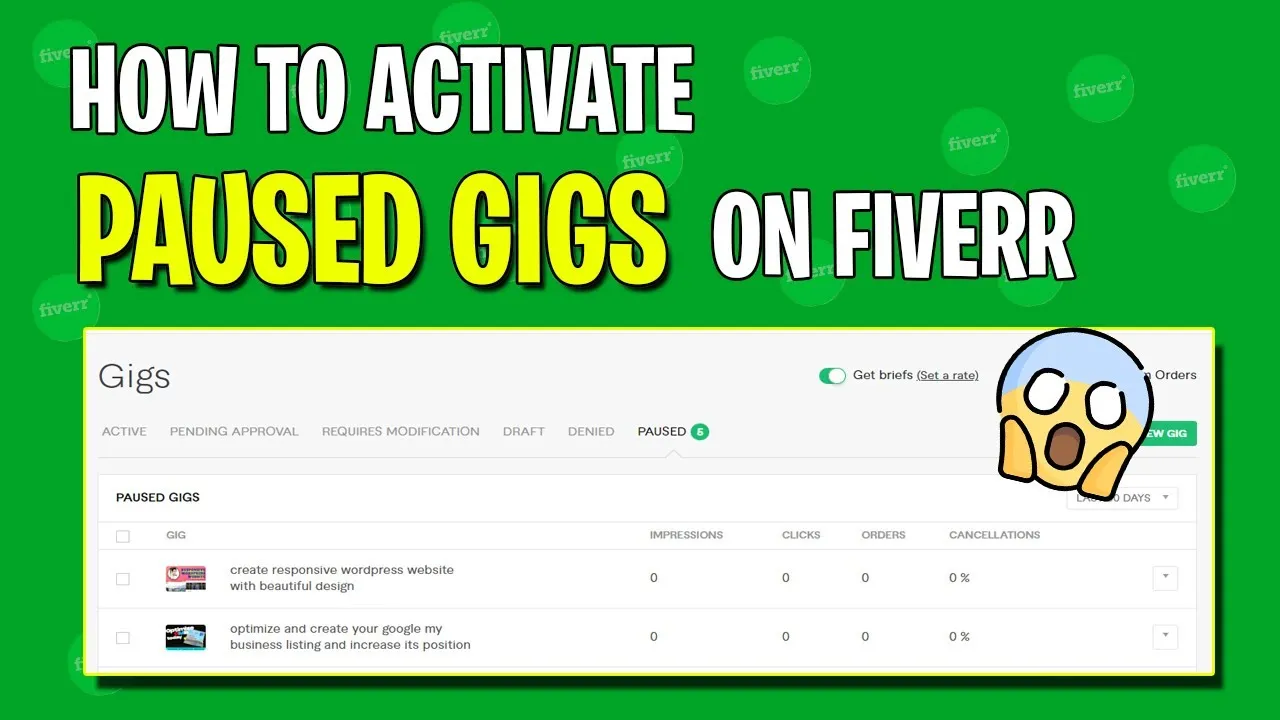
- Navigate to “Selling” Section: On the left-hand side of your dashboard, you’ll find a menu. Click on the “Selling” tab, and then look for the “Gigs” option. This will take you to a list of all your created gigs.
- Check Gig Status: Locate the gig you want to confirm. You should see a status indicator next to it. If it says “Active,” you’re golden! If it says anything else like “Draft” or “Inactive,” you’ll need to revisit the previous steps and make sure everything is filled out correctly.
- View Your Gig: Click on your gig’s title to view it as potential buyers would. This is a great way to ensure everything looks as you intended.
- Back to Dashboard: If everything looks good, pat yourself on the back! Your gig is officially up and running. You can always come back to make adjustments later.
Remember, confirming activation isn’t the end of the road; it’s just the beginning of your Fiverr journey!
Also Read This: What is Fiverr? Insights and Information from Quora Users
Common Issues and Troubleshooting Tips
Even the most seasoned Fiverr sellers can run into a few hiccups along the way. Don’t sweat it! Here are some common issues you might face when trying to activate your gig and how to troubleshoot them:
- Gig Not Showing Up: If your gig isn’t appearing in searches, it might not be activated yet. Double-check your gig status in your dashboard. Make sure you’ve filled out all required fields.
- Rejection of Gig: Fiverr could reject your gig for various reasons such as content issues or insufficient information. Review Fiverr’s guidelines to make necessary adjustments.
- Slow Gig Activation: Sometimes activation can take a bit longer than expected. If you’ve double-checked everything but still don’t see your gig live, wait for a few hours, and try refreshing.
- Profile Visibility Restrictions: If your profile isn’t fully set up or lacks a few elements (like a profile pic or description), Fiverr may restrict gig visibility. Ensure your profile is complete!
- Technical Issues: If you’re facing any website-related issues, try clearing your browser cache or using a different browser. Sometimes a good ol’ refresh can do wonders!
Bottom line: If something goes wrong, don’t panic! With a bit of patience and these troubleshooting tips, you’ll be back on track in no time.
How to Activate Your Fiverr Gig: A Step-by-Step Guide
Activating your Fiverr gig is crucial for freelancers looking to maximize their visibility and attract potential clients. Follow these detailed steps to ensure your gig is successfully activated:
- Create a Fiverr Account
If you haven't already, start by signing up for an account on Fiverr. You can do this by visiting the Fiverr homepage and clicking on the "Join" button. You can sign up using your email, Facebook account, or Google account.
- Navigate to the Selling Section
Once logged in, hover over the "Selling" option in the top menu, and click on "Gigs."
- Click on "Create a New Gig"
In the "Gigs" section, you’ll see an option to create a new gig. Click it to start the process.
- Set Up Your Gig Details
Fill in crucial details about your gig, including:
- Title: Write a compelling title that describes your service.
- Category: Choose the appropriate category for your gig.
- Tags: Add relevant tags to help users find your gig.
- Describe Your Service
In the description section, provide a detailed overview of what you offer, highlighting your unique selling points.
- Set Your Pricing
Define your pricing and create packages if necessary. Ensure the prices reflect the value of your services.
- Activate Your Gig
Lastly, preview your gig, and once satisfied, hit the "Publish" button to activate it.
Congratulations! Your Fiverr gig is now activated. Keep it updated and engage with potential clients to boost your success on the platform.


